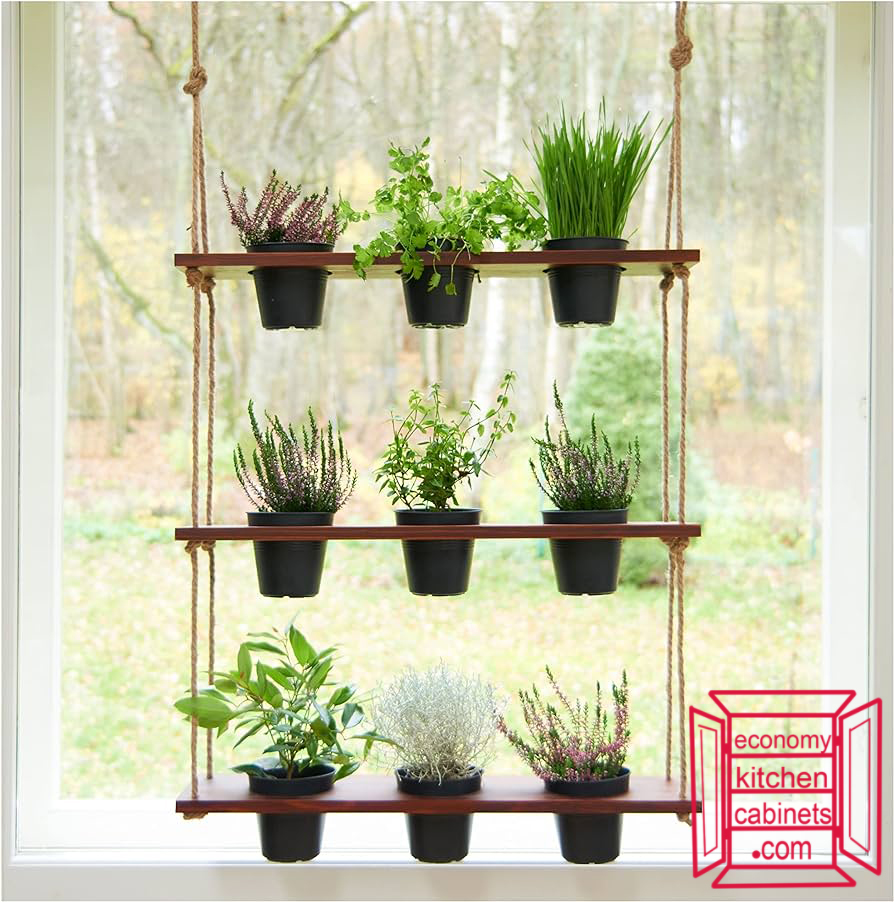
Embarking on the journey of cultivating an indoor herb garden is an exciting endeavor that promises fresh flavors, aromatic scents, and lush greenery right at your fingertips. However, before diving into the world of herb cultivation, it’s essential to understand the unique environmental conditions of your kitchen space to ensure the success and vitality of your indoor garden. In this guide, we’ll walk you through the steps to assess your kitchen environment, focusing on key factors such as light conditions, temperature, humidity, and other important considerations that can impact the health and growth of your herbs.
1. Assessing Light Conditions:
The first step in understanding your kitchen environment is to assess the available light conditions, as light is crucial for the photosynthesis process that fuels plant growth. Take note of the location and orientation of your kitchen windows, as well as any potential obstructions such as buildings or trees that may cast shadows throughout the day.
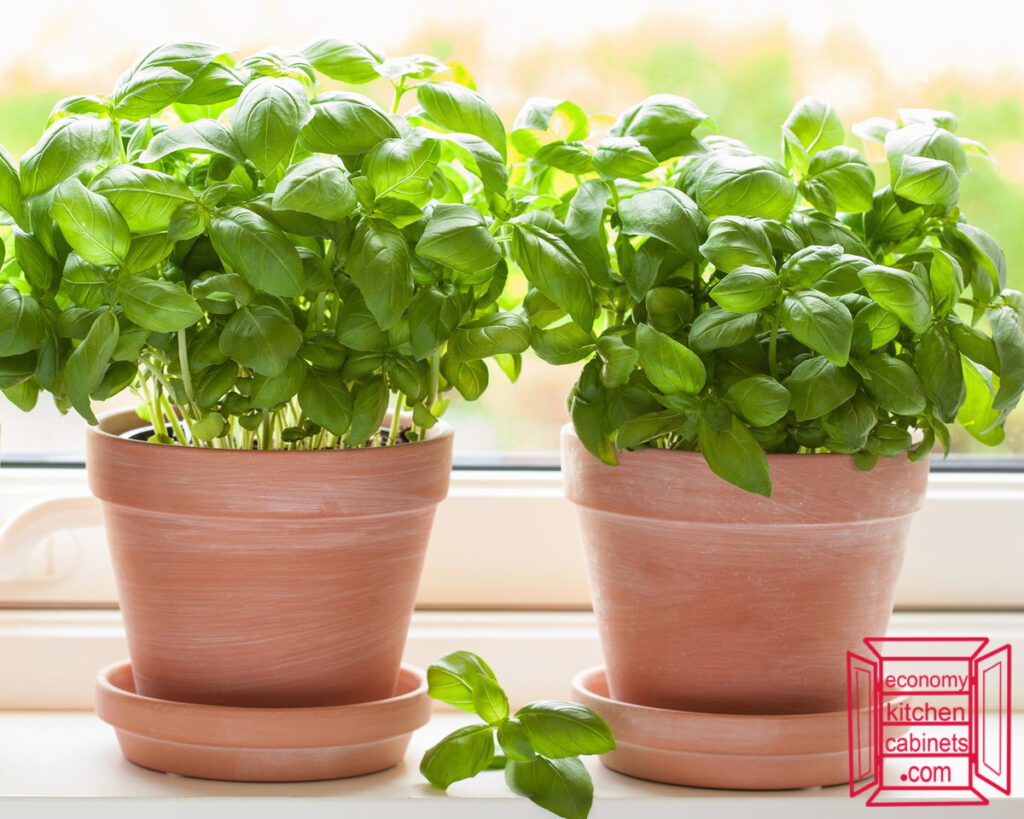
South-facing windows typically receive the most sunlight, making them ideal for sun-loving herbs like basil, rosemary, and thyme, while north-facing windows tend to offer lower light levels better suited to shade-tolerant herbs like mint, parsley, and cilantro. Use a light meter or smartphone app to measure light intensity at different times of day and adjust your herb selection accordingly.
2. Understanding Temperature and Humidity:
Temperature and humidity levels play a crucial role in the health and growth of indoor herbs, so it’s essential to understand how these factors fluctuate within your kitchen environment. Most herbs prefer moderate temperatures between 60°F and 75°F (approximately 15°C and 24°C), so avoid placing your plants near drafty windows or heat sources like radiators or ovens that can cause temperature extremes.
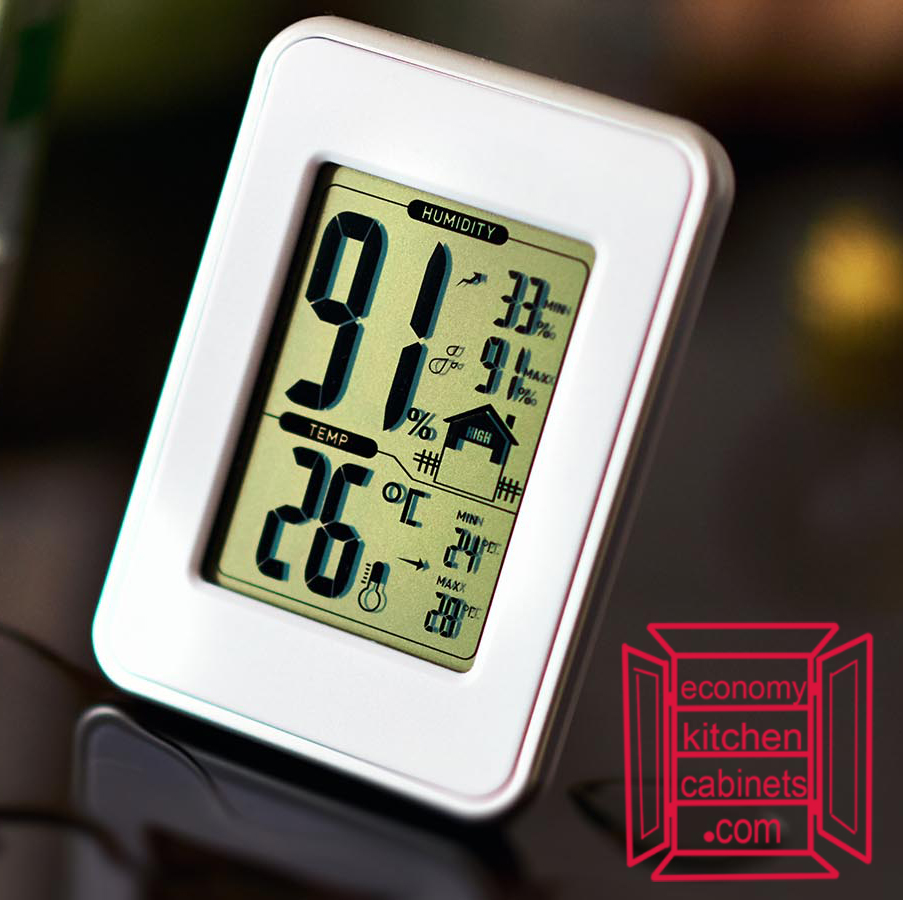
Additionally, monitor humidity levels, especially in dry indoor environments, as herbs like basil and parsley thrive in moderate to high humidity. Consider using a humidity monitor or incorporating humidity-enhancing techniques such as misting, grouping plants together, or placing trays of water nearby to create a more favorable microclimate for your herbs.

To measure humidity in your kitchen for a thriving herb garden, you’ll need a hygrometer, a device that accurately measures relative humidity. Choose either a digital or analog hygrometer, available at garden centers, hardware stores, or online. Position the hygrometer near your herb garden or where you want it to be, but not in direct contact with the plants or close to water sources that could give false readings. Ideally, place it at the same height as the foliage of your herbs will be to get a true sense of their growing environment. Allow the hygrometer to acclimate for a few hours to stabilize its reading. For most kitchen herbs, maintain a humidity level between 40% and 60% to promote healthy growth and prevent issues such as mold or mildew. Regularly check the hygrometer and adjust your kitchen’s humidity using a humidifier or dehumidifier as needed. This careful monitoring helps create an optimal microclimate, ensuring your herbs remain lush and vibrant.
3. Selecting Suitable Containers and Soil:
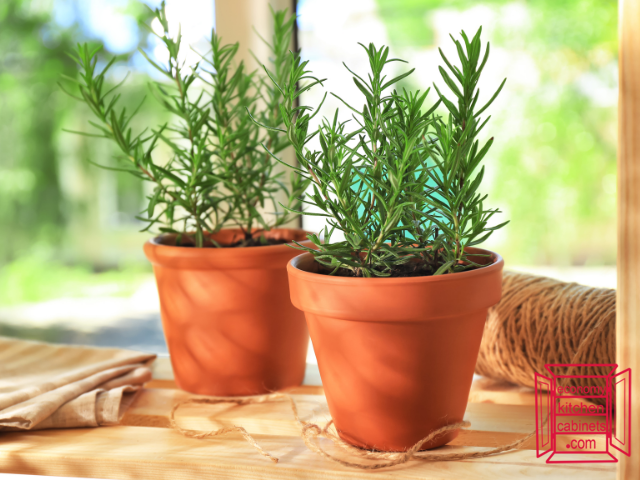
Once you’ve assessed your kitchen environment, it’s time to select suitable containers and soil for your indoor herb garden. Choose containers with adequate drainage holes to prevent waterlogged soil, and opt for breathable materials like terracotta or ceramic that allows air circulation around the roots. Select a well-draining potting mix specifically formulated for indoor herbs, or create your own by combining equal parts potting soil, perlite, and compost for optimal drainage and aeration. Consider the size and depth of your containers, ensuring they provide enough room for root growth while fitting within your available space.
4. Monitoring Watering and Fertilization:
Proper watering and fertilization are essential for maintaining the health and vitality of your indoor herb garden. Water your herbs thoroughly whenever the top inch of soil feels dry to the touch, being careful not to overwater as this can lead to root rot and other moisture-related issues. Use a watering can with a narrow spout to deliver water directly to the soil, avoiding wetting the foliage to prevent fungal diseases.
Additionally, fertilize your herbs regularly with a balanced liquid fertilizer diluted to half strength during the growing season to provide essential nutrients for healthy growth and development.
5. Paying Attention to Air Circulation and Pests:
Finally, pay attention to air circulation and pest management to ensure the long-term success of your indoor herb garden. Good air circulation is crucial for preventing fungal diseases and promoting strong, healthy growth, so consider using a small fan to gently circulate air around your plants, especially in humid environments.
Keep an eye out for common indoor pests such as aphids, spider mites, and whiteflies, and address any infestations promptly using organic pest control methods such as insecticidal soap or neem oil to minimize damage to your herbs.
By taking the time to understand your kitchen environment and its unique characteristics, you can create an ideal growing space for your indoor herb garden, setting the stage for success and enjoyment in your herb cultivation endeavors. By assessing light conditions, temperature, humidity, and other important factors, you’ll be better equipped to select the right herbs, choose suitable containers and soil, and provide proper care and maintenance for your indoor garden. With patience, attention to detail, and a little green thumb know-how, you’ll soon be harvesting fresh herbs from your kitchen window garden to enhance your culinary creations and brighten your home.
Next up in this series: Green Delights: Essential Herbs for Your Kitchen Window Garden


